Step 1. Open Apple menu and select System Preferences.
Step 2. Click on the Network icon.
Step 3. Click the + icon to create a new service.
Step 4. Click on the Interface popup menu and select VPN.
Step 5. Set VPN Type to L2TP over IPSec and give the connection a name in Service name field. Click Create.
Step 6. Enter your Hostname and Login (look L2TP info text file in the user dashboard) as Server Address and Account Name. Click Authentication Settings.
Step 7. Enter your Password and Preshared Key (look L2TP info text file in the user dashboard) as Password and Shared Secret. Click OK.
Step 8. Click the Advanced button.
Step 9. Select Send all traffic over VPN connection checkbox and click OK.
Step 10. Click Apply.
Step 11. The VPN connection is ready. Click Connect.
Step 12. Click Disconnect when you finish.
Delete VPN connection
Step 1. Open Network (see Step 1 and Step 2), select VPN connection and click - icon to delete VPN connection.
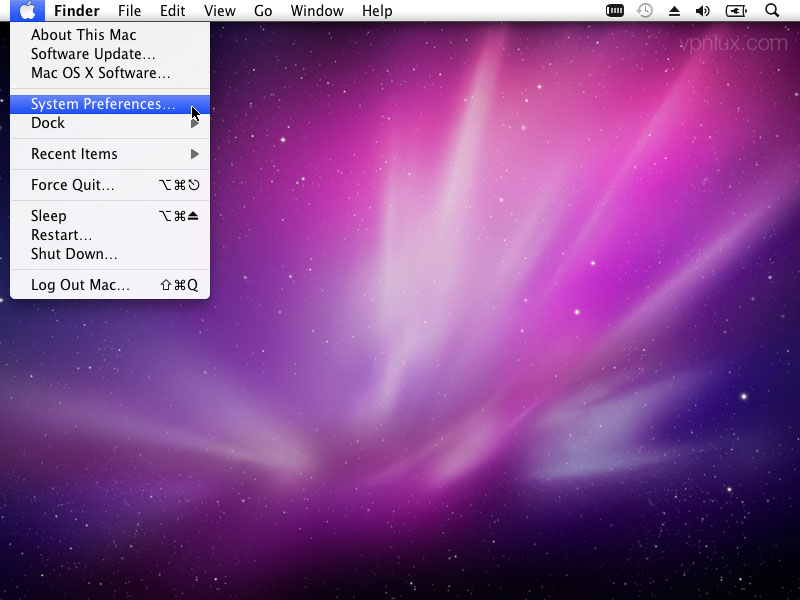 Step 1. Open Apple menu and select System Preferences.
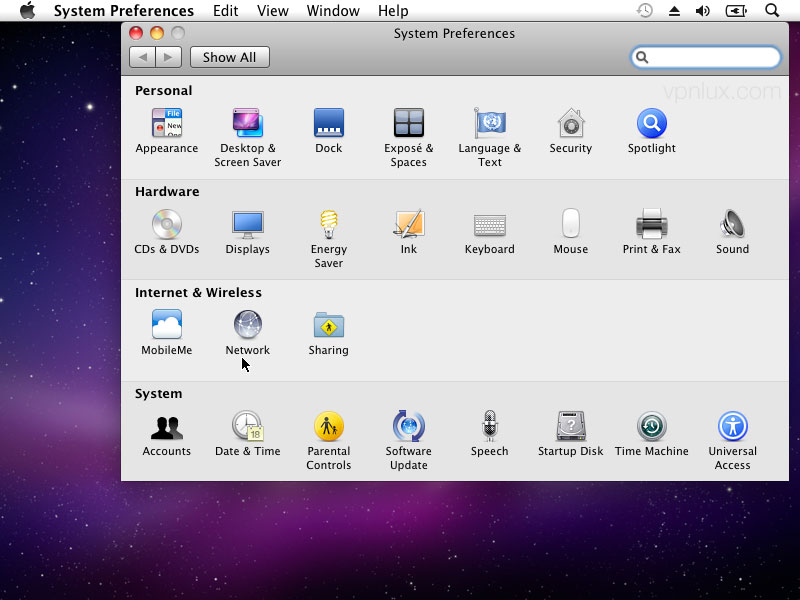 Step 2. Click on the Network icon.
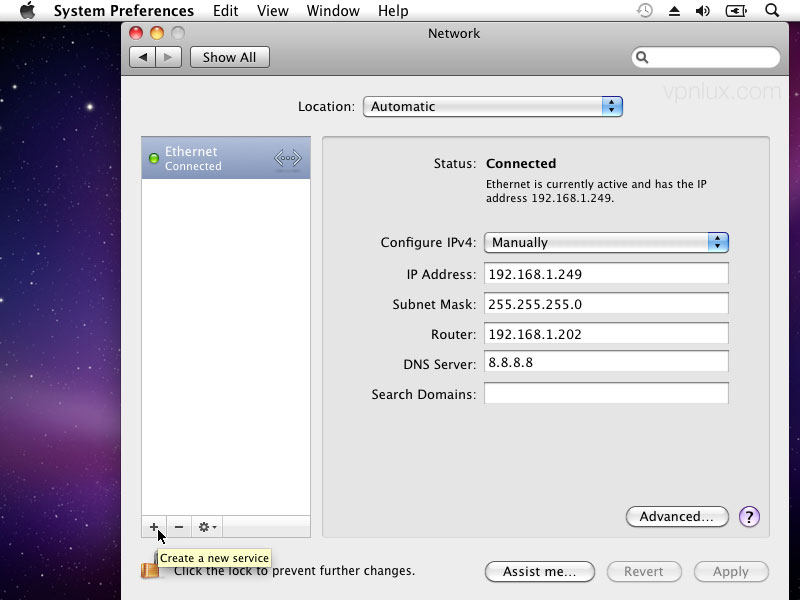 Step 3. Click the + icon to create a new service.
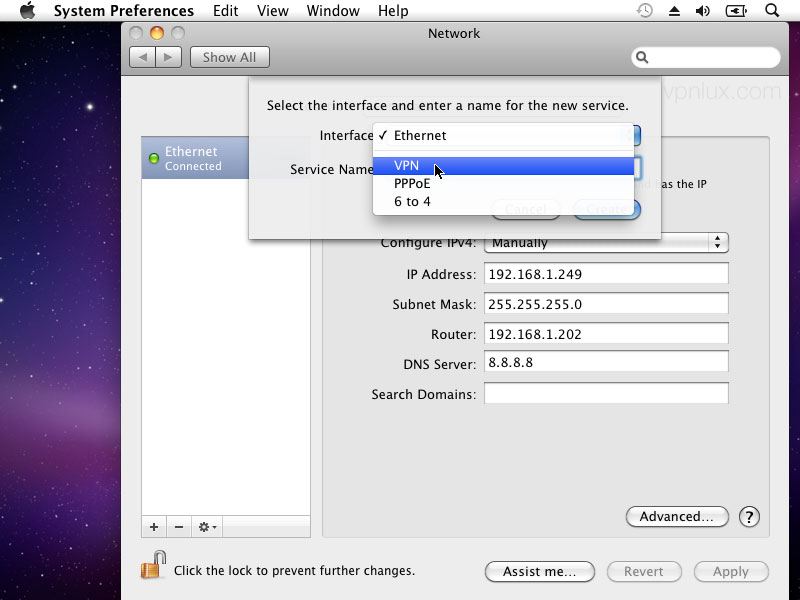 Step 4. Click on the Interface popup menu and select VPN.
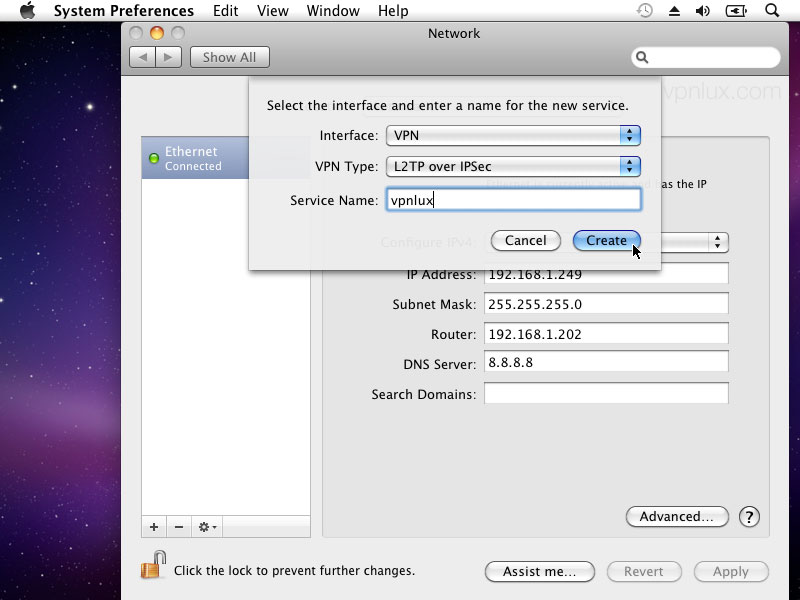 Step 5. Set VPN Type to L2TP over IPSec and give the connection a name in Service name field. Click Create.
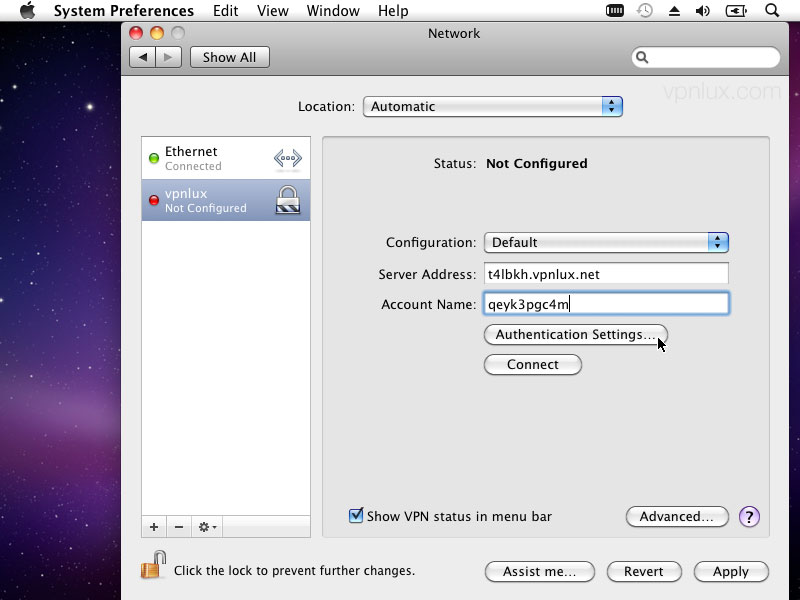 Step 6. Enter your Hostname and Login (look L2TP info text file in the user dashboard) as Server Address and Account Name. Click Authentication Settings.
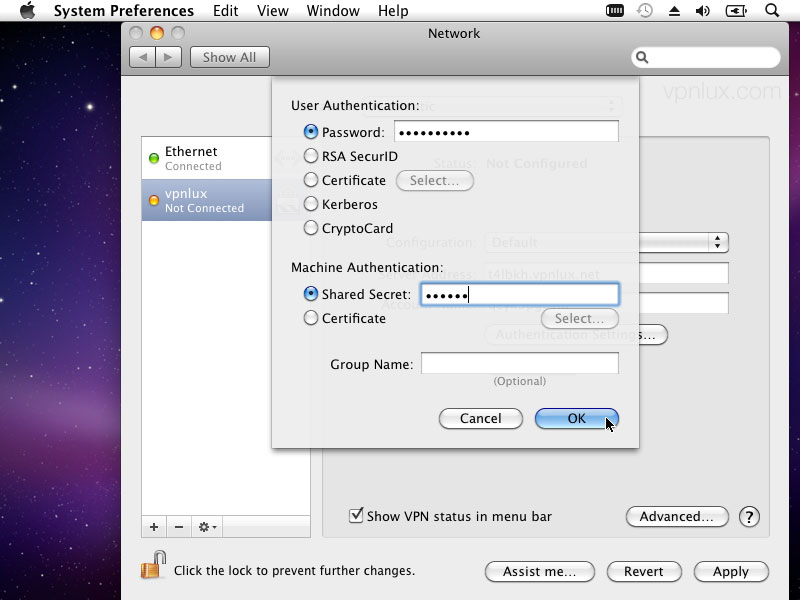 Step 7. Enter your Password and Preshared Key (look L2TP info text file in the user dashboard) as Password and Shared Secret. Click OK.
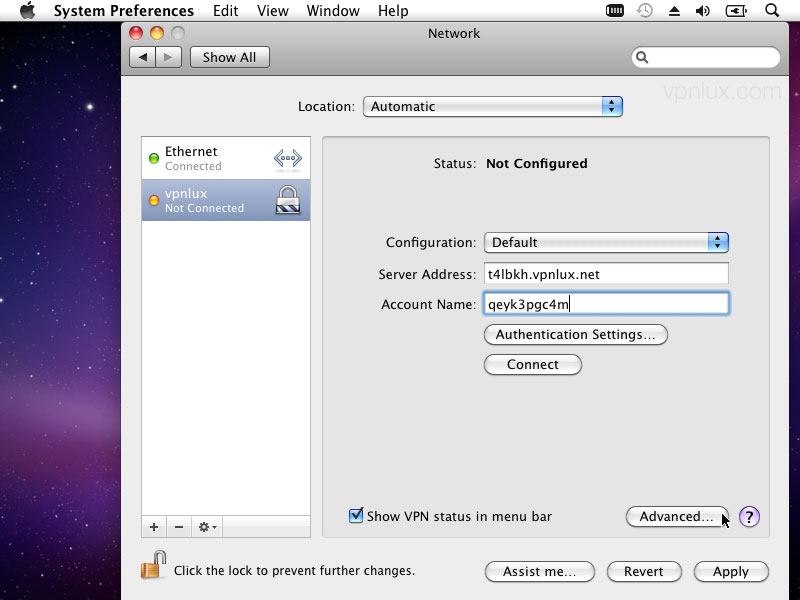 Step 8. Click the Advanced button.
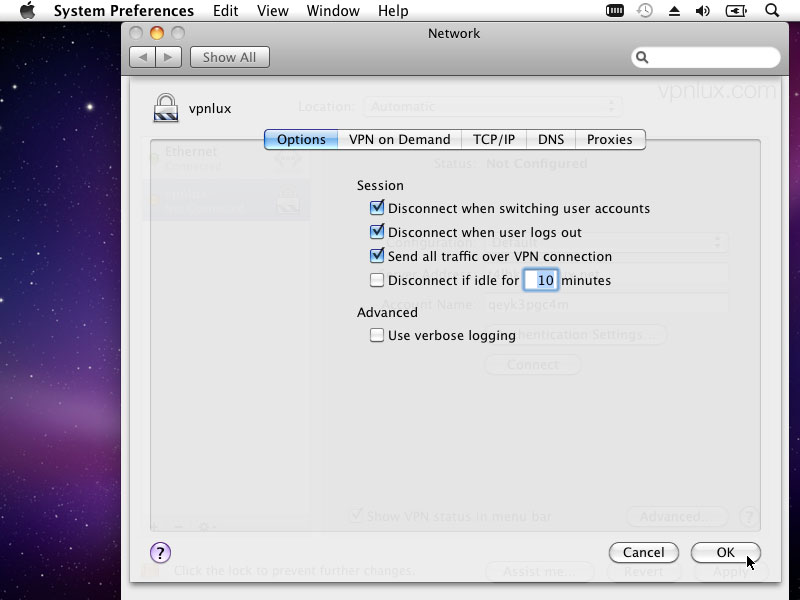 Step 9. Select Send all traffic over VPN connection checkbox and click OK.
 Step 10. Click Apply.
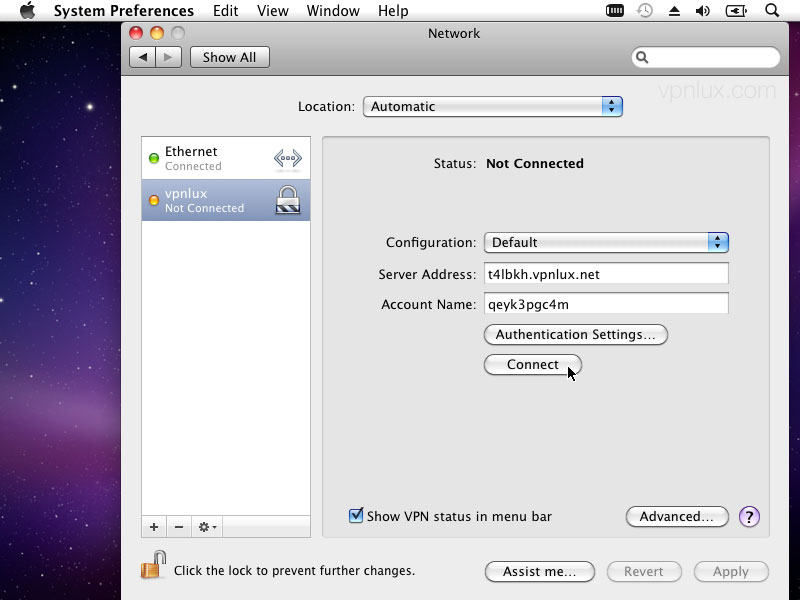 Step 11. The VPN connection is ready. Click Connect.
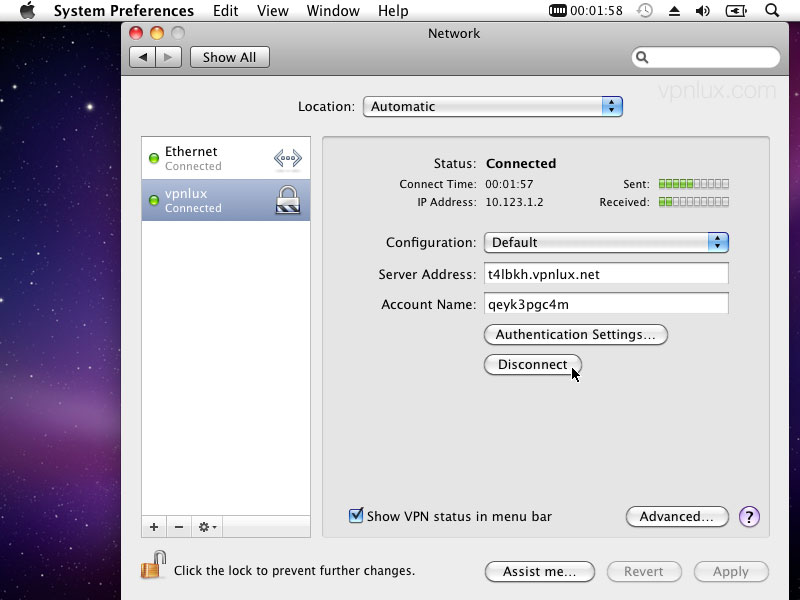 Step 12. Click Disconnect when you finish.
 Step 1. Open Network (see Step 1 and Step 2), select VPN connection and click - icon to delete VPN connection.
 vpnlux.com
